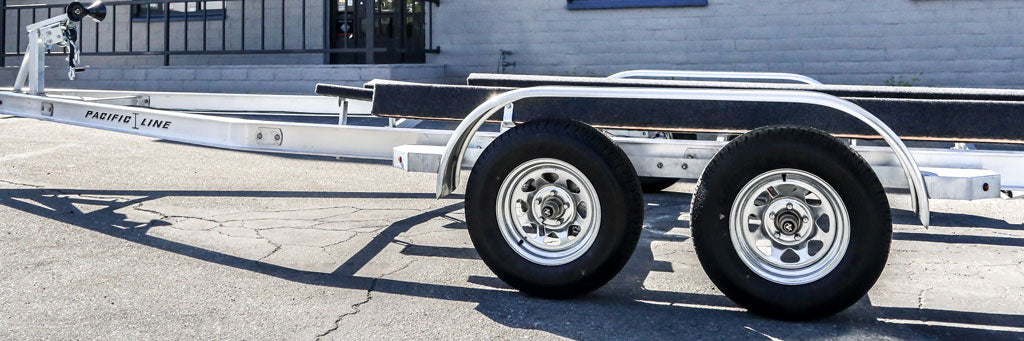

Installing Trailer Fenders
Installing Trailer Fenders
 |
STEP 1: Before you start, make sure that your new fender is the correct size. Fender lengths can be stretched or shortened by 1/2” to 3/4”. Simple either pull the ends together or pull them apart. Please make sure to protect the fender surface if doing so. |
 |
STEP 2: Block the trailer wheels. If necessary jack up the trailer and remove one or more of the wheels for clearance. |
 |
STEP 3: Remove the existing fender. Unbolt from the trailer steps or the fender supports. If the fender is welded on to the supports or steps, then all the welds must be ground off to remove the fender. |
 |
STEP 4: If applicable, remove the fender back. Lay the fender on its back next to the replacement fender and mark any holes on to the new polished stainless steel fender. |
 |
STEP 5: Center punch and drill the holes for the fender back. |
 |
STEP 6: Mark the step mounting holes onto the new polished stainless steel fender. |
 |
STEP 7: Drill or plasma cut the step mounting holes into the new polished stainless steel fender. |
 |
STEP 8: Remove the protective PVC plastic cover from the fender, install the new fender and reinstall the wheels. Make sure to check that all mounting bolts are tight. Tighten the wheel lug nuts to your trailer manufacturers specifications. MAKE SURE TO DOUBLE CHECK THE LUG NUTS ARE TIGHT. |
 |
STEP 9: Repeat steps 1 to 8 on the opposite side. |